Blog
How to Install Surface-Mounted Magnetic Track Lighting (No Grooving, No Plastering)

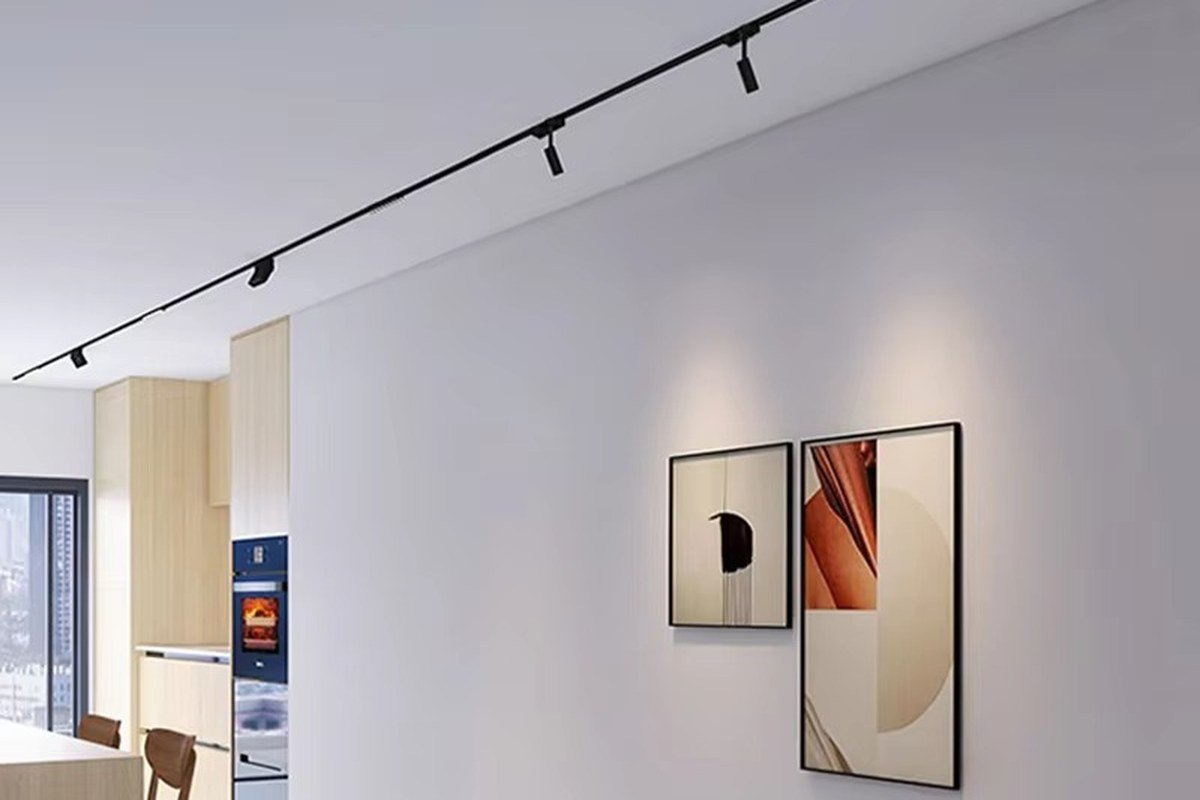
You have decided on magnetic track lighting for your renovation — smart choice. But then the contractor quotes two extra days of work: cutting channels into the ceiling, plastering, repainting. For many homeowners, renters and retrofit projects, that is where the budget and the patience run out.
Here is the good news: with a surface mounted track light system, none of that is necessary. The track screws directly onto the finished ceiling — no grooving, no embedding, no plastering. In this guide, we walk through a complete magnetic track installation from planning to first light, using FLUXY’s 6mm ultra-slim track as the reference system.
Why Choose Surface-Mounted Magnetic Track Lighting?
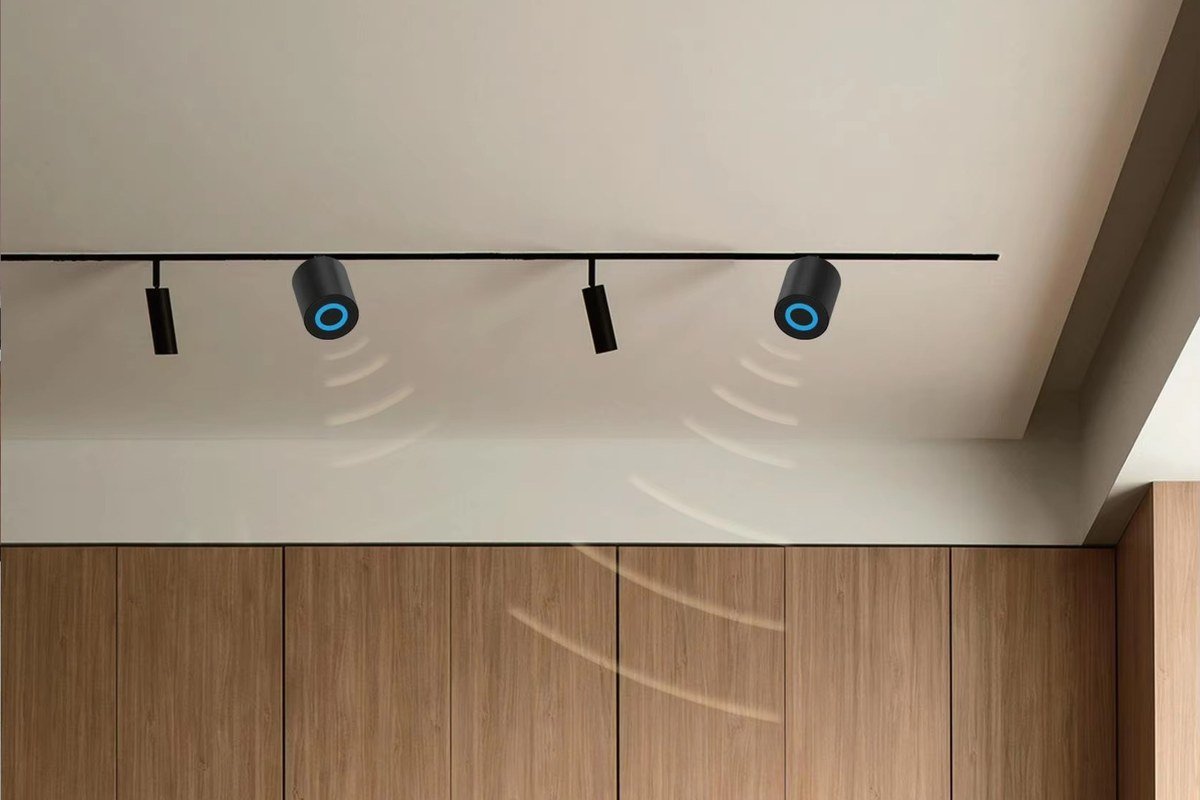
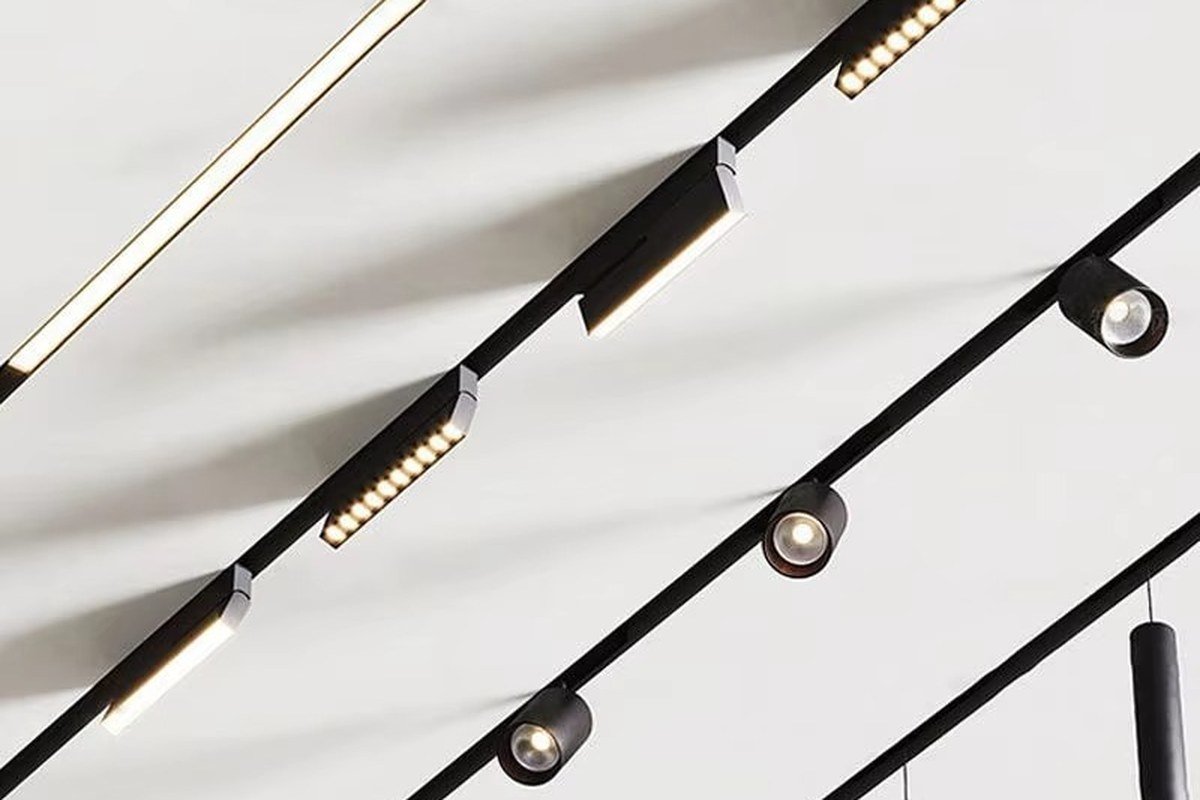
Recessed tracks demand a dropped ceiling or deep ceiling void, plus channel cutting and skim coating. A surface-mounted system skips all of that. The FLUXY 6mm track is only 6mm thick and 26mm wide — thinner than three coins — so it sits almost flush against the ceiling and reads as a clean architectural line rather than an add-on.
The benefits go beyond installation day:
- No structural work: the track mounts to drywall, concrete, wood paneling or plaster with screws and positioning plugs — ideal for retrofits and rental-friendly upgrades.
- Safe low voltage: the system runs on DC48V, so the track can be touched safely even when powered.
- Layout flexibility: luminaires snap in magnetically and lock with mechanical buckles, then slide to any position on the track.
Browse our ultra-slim 6mm magnetic track collection to compare the surface-mounted, embedded and smart versions side by side.
Tools and What You Will Need
The tool list for DIY lighting with this system is refreshingly short. For a standard single-track run you need:
- The track sections (available in 1m lengths, spliced end to end for longer runs)
- Screws and positioning plugs (included), plus matching screw-hole covers for a clean finish
- A drill, a screwdriver and a tape measure
- A built-in 100W or 200W transformer, which inserts directly into the track — no inspection hatch required
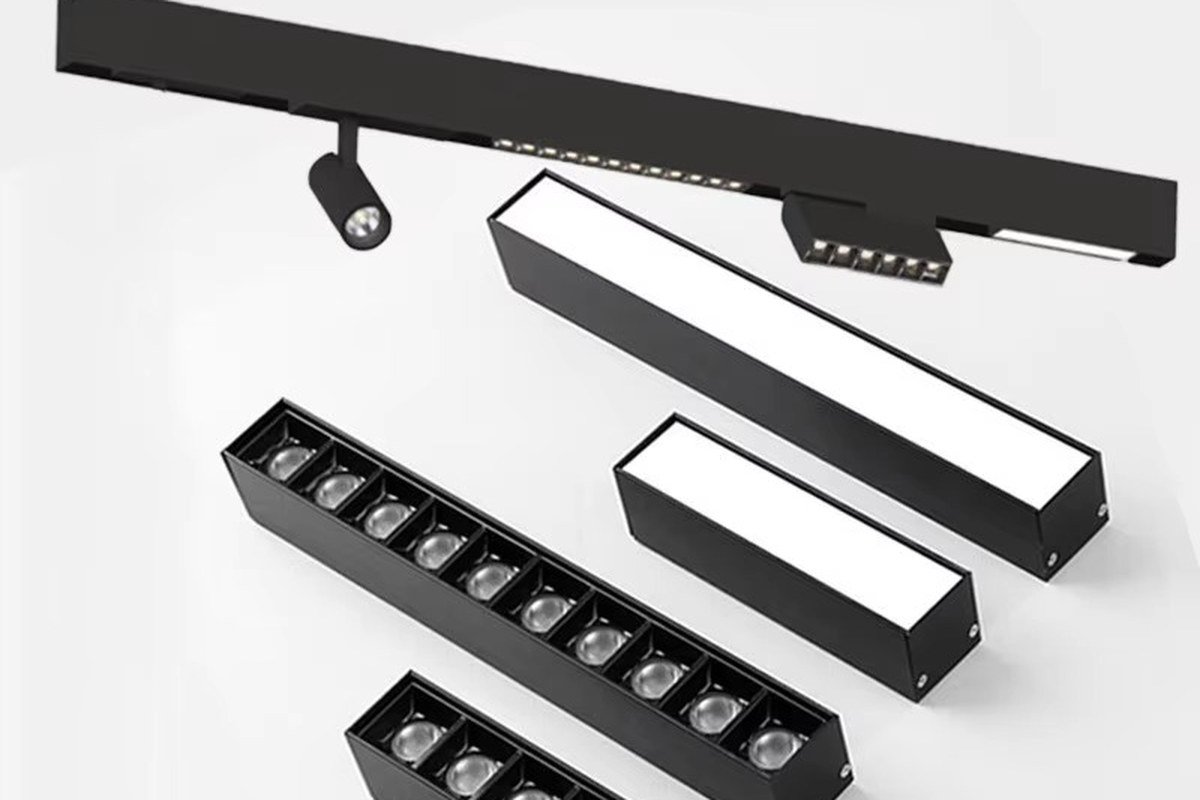
- Your choice of magnetic luminaires: spotlights, grille lights, floodlights or pendants
Plan the layout first: mark the track line, note where each luminaire sits, and confirm a 220-240V power point is within reach. Longer runs or higher loads take an external power supply instead.
Step-by-Step: Surface-Mounted Magnetic Track Installation
1. Mark and pre-drill. Run painter’s tape along the planned track line. Mark the screw holes at the recommended spacing and drill pilot holes for the positioning plugs.
2. Fix the track. Screw the track base to the ceiling through the plugs. The rigid, one-piece aluminum extrusion stays straight without flexing. Press the screw-hole covers into place for a seamless finish.
3. Splice additional sections. For runs longer than one meter, join sections with I, L, T or X connectors — the splicing is seamless, so corners and junctions look intentional.
4. Insert the transformer. Slide the built-in 100W/200W transformer into the track at any point. It powers the whole run from inside the track body — no junction box, no access panel — and pulls out for plug-in replacement if it ever fails.
5. Snap on the luminaires. Bring each lamp to the track: magnets pull it into position and the mechanical buckle locks it. Slide it anywhere; press the unlock buckle to remove or reposition it — no tools, no rewiring.
Planning the Layout Like a Designer
Installation is half the job; beam placement is the other half. A few rules of thumb from our lighting design team:
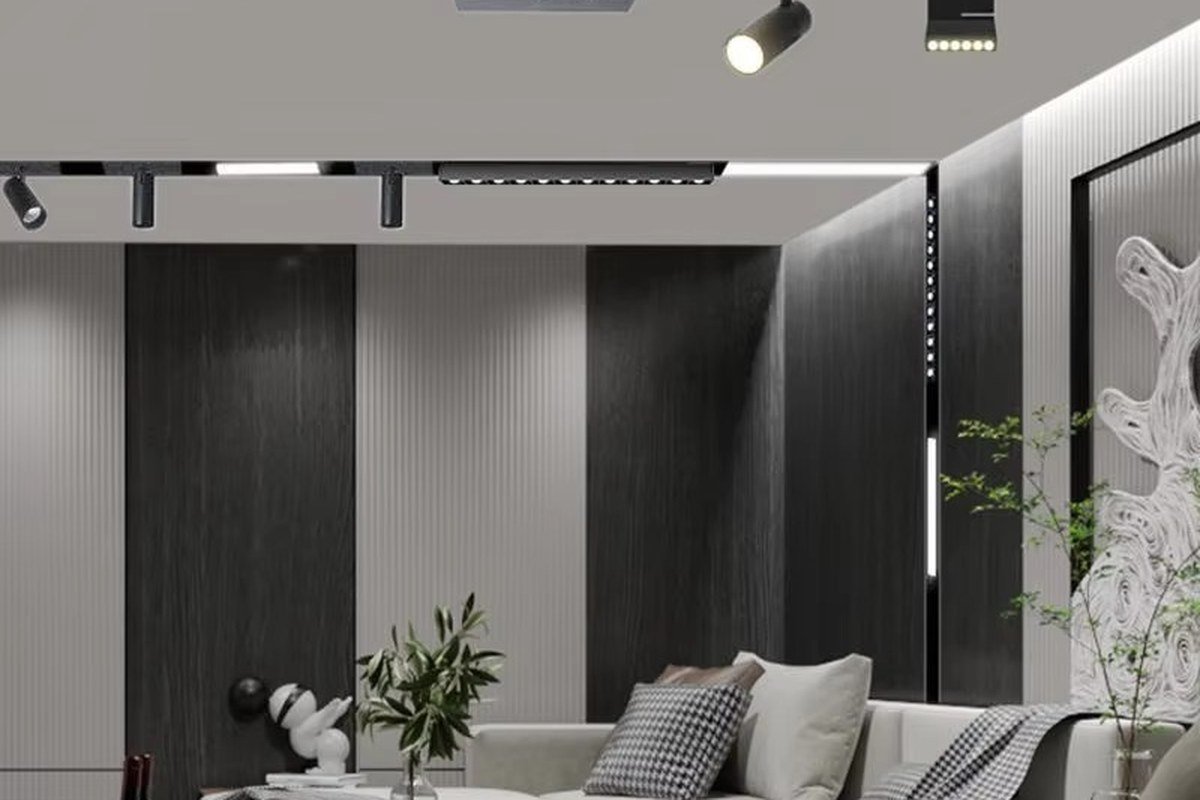
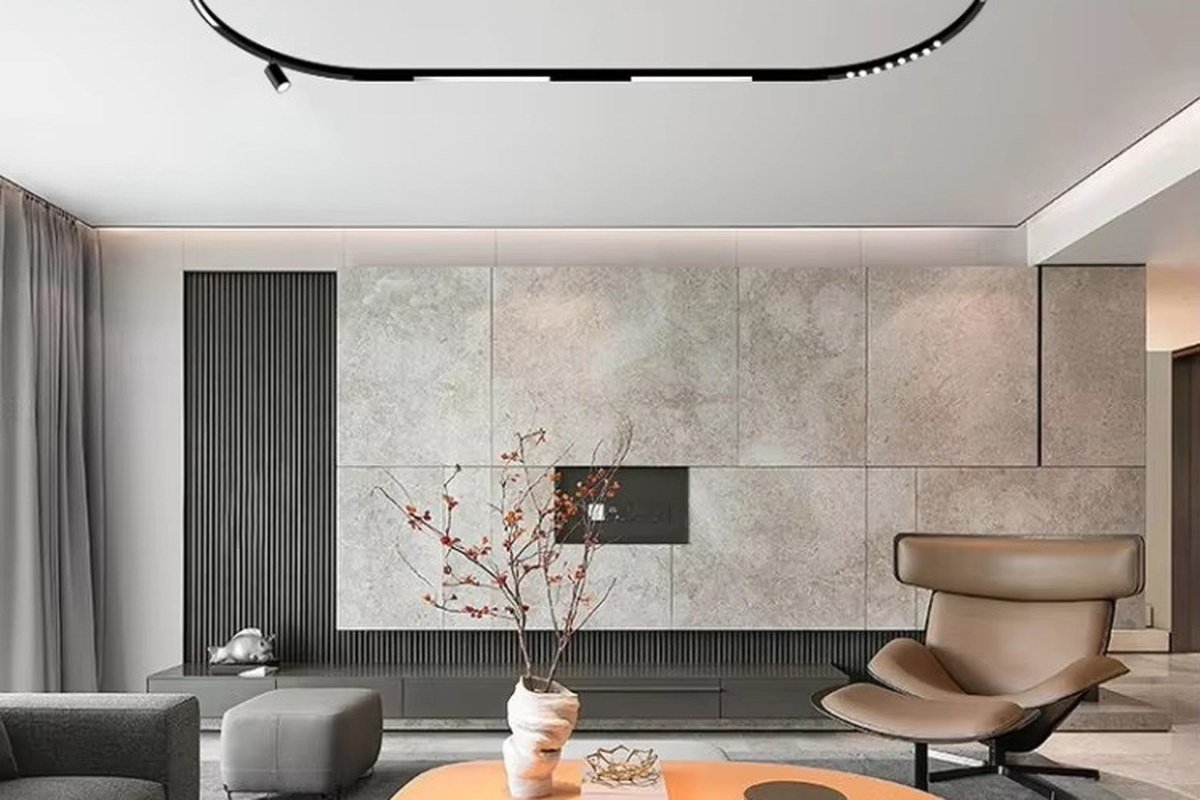
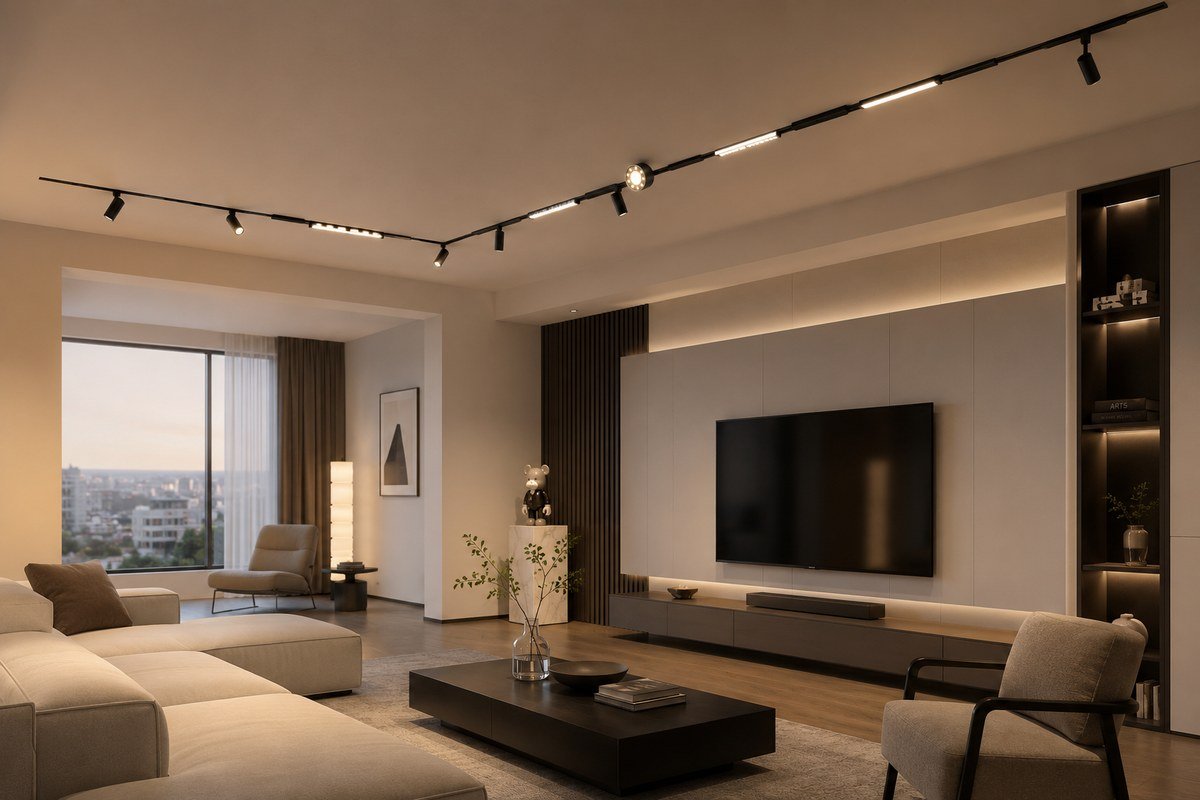
- Living rooms: run tracks parallel to the room’s long axis, with grille lights over seating and a pendant or two marking the conversation area.
- Kitchens: align the track with the countertop edge and aim spotlights at work surfaces, not at people’s eyes.
- Corridors and wash walls: place floodlights 40–60cm from the wall for an even grazing wash.
Keep color temperature consistent across the run: 3000K for warm residential moods, 4000K for task-oriented spaces, 6000K for crisp commercial light. The 6mm series delivers Ra≥95 color rendering on OSRAM chips, so colors look the way they were designed to look.
Want to go further? The same track accepts smart Zigbee luminaires (3000K–6000K tunable white via the Smart Life app and a Zigbee gateway) and even a Bluetooth 5.4 track speaker. Explore the full range in our ultra-slim 6mm magnetic track collection.
Conclusion
A surface mounted track light system turns what used to be a two-trade renovation job into a single-afternoon DIY lighting project: screw the track to the ceiling, plug in the transformer, snap on the lights. No grooving, no plastering — and whenever your room or your mind changes, the lights move with it. Every FLUXY system is backed by a 3-year warranty and ships worldwide.
Ready to plan your project? Send us your floor plan and our lighting team will create a free layout and product list.